
Beginners Tutorial: Cropping with IrfanView
I was asked how to crop an image with IrfanView, so I created this basic tutorial, and decided I might as well post it on my weblog.
Please feel free to let me know what you think of it.
Before we begin, open IrfanView.
NOTE: For all actions here, use the primary mouse button - almost always the one on the left hand side.
Step 1
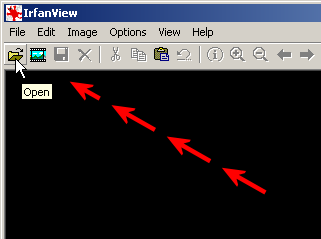
The first step is to load the image file.
Simply click the 'Open' button, and browse to the file in the usual way.
Step 2
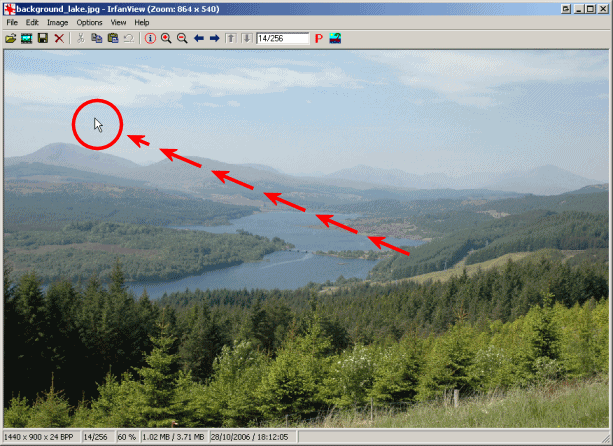
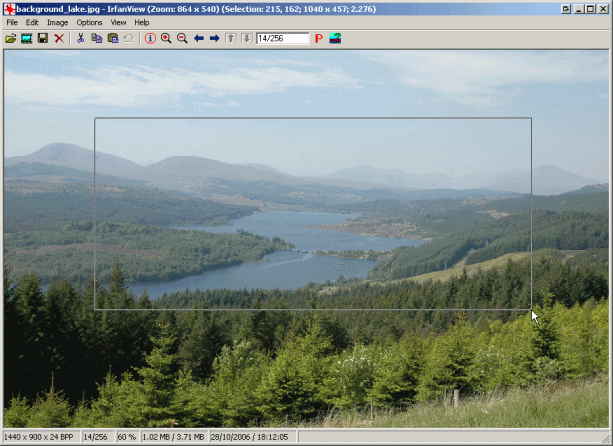
With the image open, move the mouse cursor to the top left corner where you want the image cropped:
Step 3
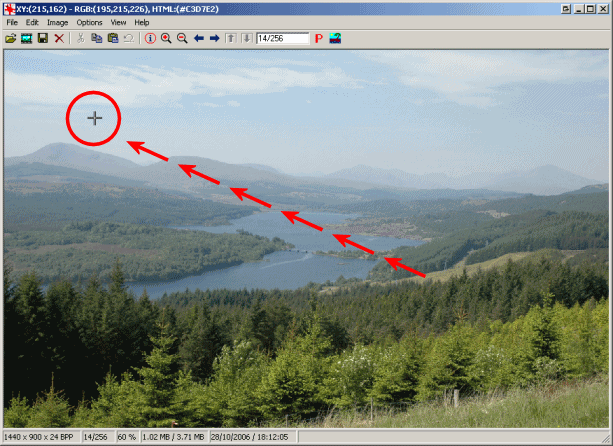
Press down the mouse button and hold it down. The cursor will change to a crosshair.
Step 4
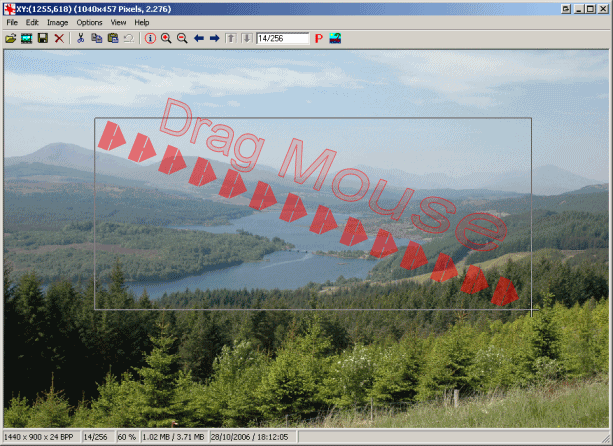
Drag the mouse down and to the right whilst holding the button and you will create a rectangle on screen.
Make it the appropriate size for your crop. (If in doubt, make the area slightly larger.)
Step 5
Release the mouse button and the rectange will stay where it is:
Step 6
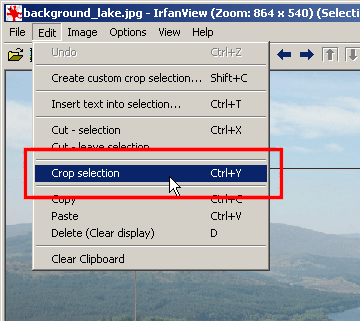
Go to the Edit menu and select the Crop selection option. Alternatively, press Ctrl-Y on the keyboard.
Step 7
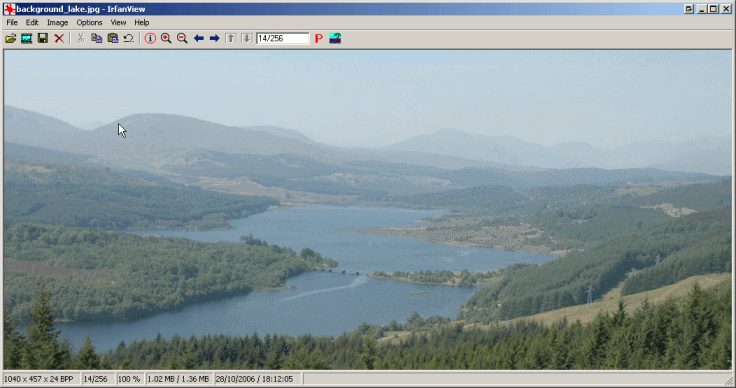
Your image has now been cropped to the selected area.
Step 8
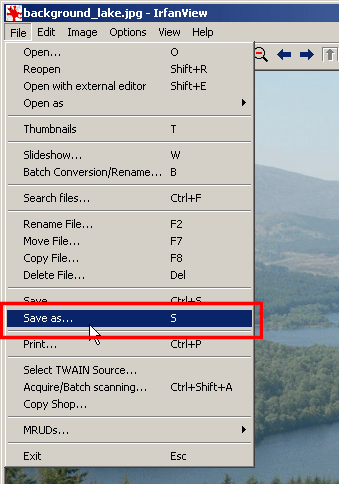
You now need to save the crop which you have made. Goto the File menu and select Save As.
(Alternatively, press S on the keyboard.)
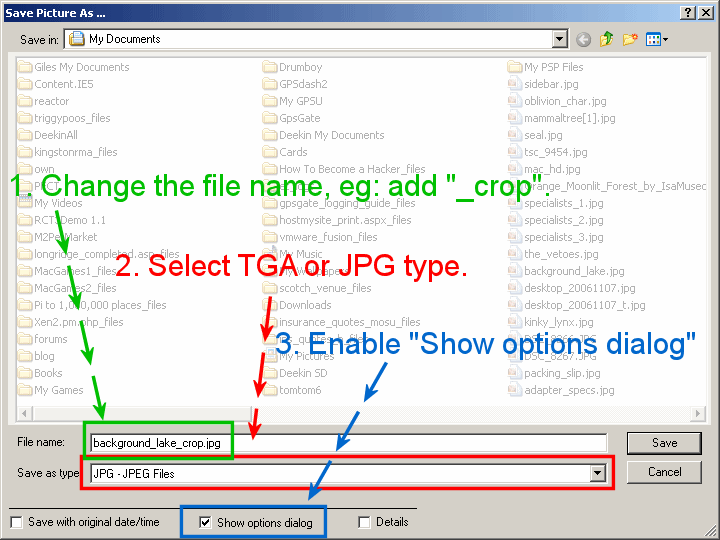
Step 9
Enter in a new filename for the image. If you need the image to be high quality, save as TGA.
Otherwise, a high quality JPG is a good choice. For JPG, ensure the "Show options dialog" box is ticked.
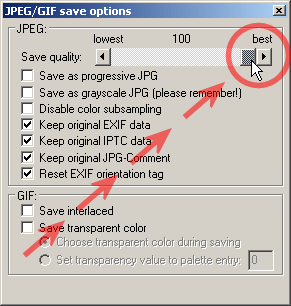
Step 10
If you save as JPG, ensure you set the quality to the maximum (100% quality 0% compression)
That's it - press the save button and you're done.
You can now repeat these steps for other images.